An Overview
During and after calibration process a series of charts are generated. This page provides a short overview of the different states of operation that are executed during the calibration process.
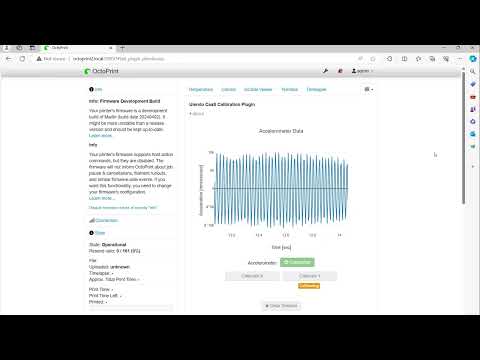
Accelerometer Detection
As the first step, the plugin generates a self-test for the accelerometer. This test is done to ensure that the accelerometer is securely wired to the attached Raspberry Pi.
If the accelerometer was successfully connected to the Raspberry Pi, the user interface will display a short graph followed by success message.
Centering and Movement
The plugin will home the printer and attempt to center the target axis at the center of the build volume. This step is to help mitigate potential collisions.
Before moving, the plugin will prompt the user to allow movement. During this stage users are encourage to ensure that the build volume is free of obstacles.
Calibration
The calibration process takes approximately 30 seconds to complete if no data is lost. If for some reason data is lost during the process, the plugin will automatically restart the calibration process.
In some cases where the Raspberry Pi has other services running and the CPU usage is high, it may take several attempts for the data to be collected.
The printer will start driving the target of the axis rapidly during this stage. Users are encourage to take adequate precautions to protect themselves and their printer.
Validation
During the validation stage, the sweep is repeated on the printer with the selected compensation applied. Users can directly observe visually and audibly the change in the printer behavior after the compensation is applied. Users will again be prompted to confirm that the printer is clear of obstacles before moving.
Save
After the validation step, users can save the values directly to the EEPROM on supported printers. This will automatically restore the optimal values for the printer even after power-loss.